
Basic Exposure Tips
- Nathan Hu
- Oct 4, 2021
- 4 min read
Updated: Oct 25, 2023
Nathan's Corner - Basic Exposure Terms
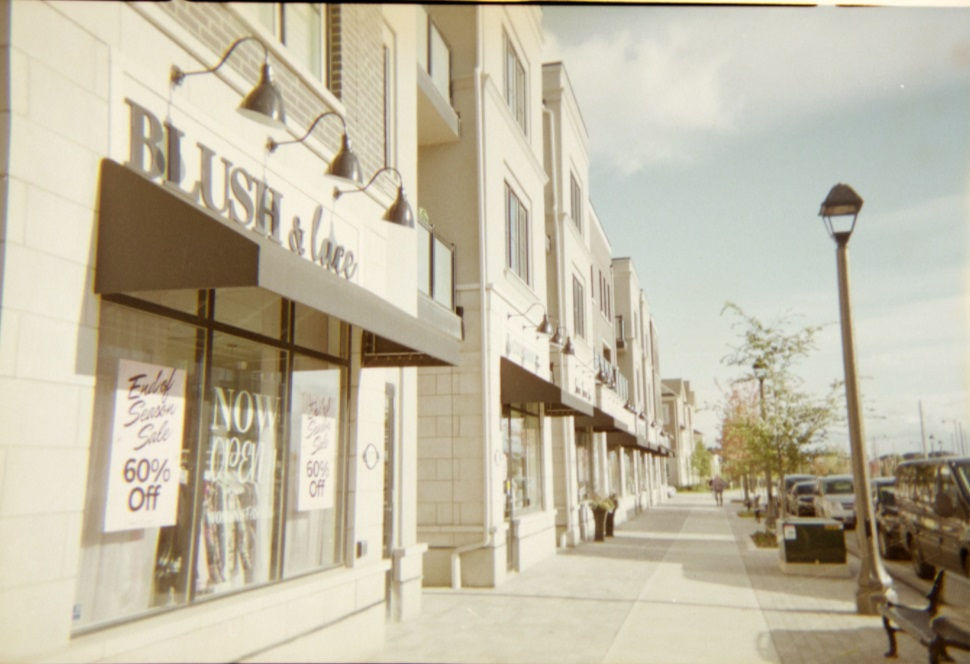
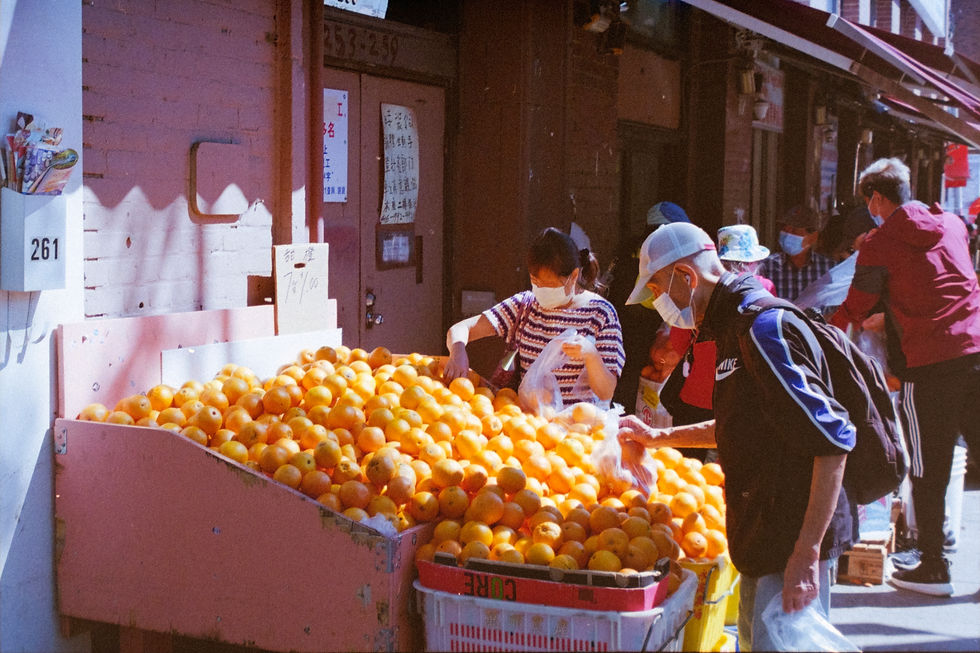
All images are courtesy of Nathan Hu unless otherwise stated.
Photography roughly translates to “light painting” in Greek. To take the perfect picture, you need to paint with the right amount of light. In order to control your exposure, or how much light your sensor is exposed to, there are three different settings to keep in mind. While you could just leave your camera on auto, understanding how to use these three settings will give you as much control over the look of your photos as possible.
What is a stop?
A stop is the increment used to measure how much light passes through the camera. An increase of light by one stop is double the light, while a decrease halves the light.
ISO (Sensitivity)

ISO is a measure of how sensitive your image sensor is to light. The higher the ISO, the more sensitive your camera will be to light. In a digital sensor, this is done by controlling the voltage of the sensor to adjust the signal gain, while on film ISO is determined by the physical size of the silver halide grains. In most cameras, ISOs can range from 50 to 3200. Currently available film stock reaches 1600, consumer DSLRs can reach 25600, while professional cameras can reach an incredible 4 million ISO. You simply double or halve the ISO value to adjust it by one stop.

Although the simplest and most straightforward way of controlling exposure, higher ISOs can have adverse effects on image quality. Raising the ISO amplifies the signal gain, causing any imperfections or randomness in the signal to become far more pronounced. This is further exacerbated by the heat produced by increasing the voltage on the sensor. The resulting image will appear discolored and “noisy”, as well as being less clear and appearing to be hazy. On film, higher ISO may be desired as higher sensitivity film stocks are a lot grainier, giving a more vintage feel to them.
Aperture
Also known as f-stop, aperture is how wide your lens opens, it can be calculated by dividing the focal length (the zoom of the lens in mm) by the diameter of the opening. The ability to adjust aperture only really exists on cameras, with some high end phones allowing very limited adjustments. In one stop increments, aperture values commonly range from f1.4 to 22, multiplying by 1.5x each stop. The wider open the lens is (and confusingly the smaller the number), the more light it lets into the camera.
Lenses focus light by converging the rays into small points. As light passes through the lens, it takes on the shape of the opening. The smaller the opening is, the skinnier the light rays are, meaning they need to converge less in order to be focused. As a result, you have a bigger range of distances that light rays can be from that can all be focused at once, since they were smaller to begin with.

The larger the aperture, the fewer light rays can converge into a small enough point at once, resulting in a smaller area that can be in focus. By using a smaller aperture, you have the ability to create wonderful blurry backgrounds to isolate your subject, at the expense of increased focusing difficulty since only such a small area can be in focus at once.
Shutter Speed

Shutter speed is the speed that your camera will open and close to let light in. Presented as a fraction of a second, one stop increments of shutter speed are determined the same way as ISO. The slower a shutter speed is, the more time the sensor is given to be exposed to light. It is important you make sure your shutter speed isn’t too slow, keeping it at least 1/60th of a second, otherwise you could end up with blurry images from camera shake. You will also want to increase the speed if you are photographing moving objects.
Metering
How do you know what settings you need for each situation? If you want to go all out you could set your camera to full manual and either use a light meter on your phone or in your camera to tell you what settings to use. Alternatively, it is far easier and more convenient just to use the priority modes on your camera. If you want to play with ISO, shoot with program mode. If you want to learn shutter speed, set it to shutter priority and for aperture, set it to aperture priority. This will allow you to learn how each function works as the camera handles everything around it, as well as make it more convenient for you as you only need to adjust the settings that are necessary for your work.
Conclusion
Understanding the settings on your camera opens up a whole new world of creative freedom for your work. In order to fully understand how to take advantage of these settings, you will not only need to know how they work, but understand how you want to use them in your own creative vision. The best way to learn how to take photos is to go out and experiment as much as possible, especially in the era of digital photography where you have virtually no limits on how many photos you can take. The internet and social media are also amazing hubs to gain inspiration and learn from other artists, though you should be weary of any urges to purchase expensive equipment afterwards.
Comments